Looking for a better way to study topics or remember things after meetings? Then you’ll love the Cornell note-taking method.
Cornell is a note-taking strategy that maximizes recall, so it’s a great choice for students, trainees, and anyone learning something new.
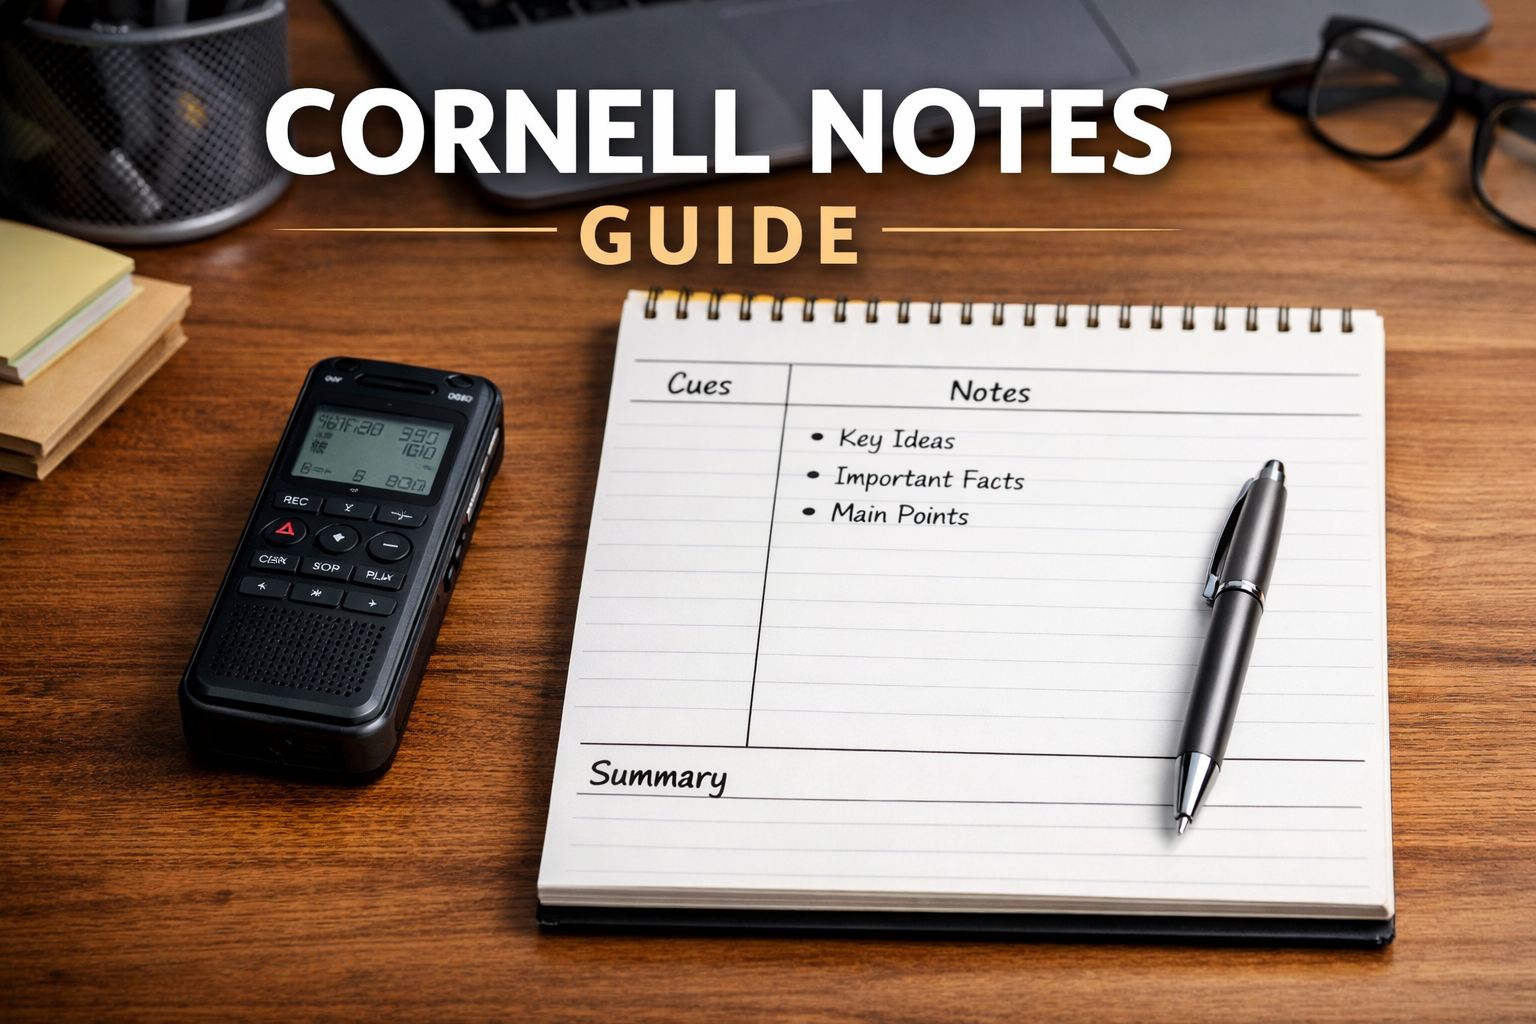
It works by dividing your page into three sections: a main notes column, a smaller cue column on the left, and a summary section at the bottom. We’ll give a more thorough explanation below, and we’ve included a Cornell notes template you can use right away.
Why do we know so much about the Cornell method? We’re Plaud, and we build AI note-taking tools used by over 1.5 million professionals, students, and teams. Our tool, the Plaud Note, can even generate Cornell notes to help you remember more (without the hand cramps).
Keep reading to find out how to use the Cornell method correctly. We’ll also suggest some alternative note-taking methods that might work better.
Let’s get to it.
Note: This is an entry in our series on all the different ways of taking notes. If the Cornell Method isn’t right for you, try one of the other methods we included in our guide.
What is the Cornell Method of Note-Taking?
The Cornell Method is a structured note-taking system developed at Cornell University in the 1950s. It was designed to help students write notes, review them, and remember them.
Some note-taking methods are just for getting information down on the page (such as the quadrant method). Cornell is specifically for study and learning. So, if you’re planning to review your notes later, Cornell notes can save you a lot of time and improve the way you learn.
Here’s how it works.
You divide your paper into three sections:
-
Main Notes (right side): This is where you write down key ideas in the moment during a lecture, meeting, or while reading.
-
Cue Column (left side): After the session, you use the cue column to add keywords, questions, or prompts that relate to the notes on the right.
-
Summary (bottom): After writing the main notes, add a short 2-4-sentence summary at the bottom of the page.

It might seem like a lot of effort just for “college notes” (or high school or middle school notes), but that’s exactly why the Cornell method works so well. It forces you to review and think about your notes immediately after a lecture or meeting. That’s been scientifically proven to improve recall.
When it comes time to review, you cover the main notes column and try to answer the questions in the cue column from memory. No need to waste time with flashcards.
This method has stuck around for decades because it’s simple yet powerful.
Further Reading: If you're looking to improve your studying efficiency this semester, check out our guide on the best AI tools for students.
Cornell Note-Taking Method Example
Here’s an example of what a page of Cornell notes might look like after a meeting. Notice how it’s good at condensing and organizing notes for later review.

Note: This example shows “business meeting” notes. Don’t worry, if you’re looking for how to take notes in class, the Cornell method works fine too. We are just demonstrating the note-taking layout for you here. This is one of the most flexible notes formats there is.
How to Take Cornell Notes in 4 Steps
Are you ready to learn the Cornell method?
If you do it right, the Cornell note-taking method encourages you to practice the 5 R’s of note-taking: Record, Reduce, Recite, Reflect, and Review. These are all built into the Cornell method, which means you get better notes and remember more information.
Let’s cover the 5 Rs before we get into the steps. The 5 Rs of note-taking are:
-
Record: Capture key ideas in the main notes column.
-
Reduce: Condense those notes into keywords and questions in the cue column.
-
Recite: Cover the main column and answer cue questions from memory.
-
Reflect: Writing the summary at the bottom pushes you to think about the bigger picture.
-
Review: Because everything is organized, reviewing takes minutes instead of hours.
Now, let’s break down the Cornell note-taking system step by step.
Step 1: Prepare Your Page Before You Start

Before the lecture or meeting begins, set up your layout so it looks similar to the image above.
Draw a vertical line about 2.5 inches from the left margin. That’s your cue column. Draw another horizontal line about 2.5 inches from the bottom of the page to form the summary section.
All of this takes about 10 seconds, but it’s a powerful way of organizing notes.
Step 2: Take Notes in the Main Column

During your meeting or lecture, you should only focus on the main “notes” column (the biggest section on the page).
This is where you write down key ideas in real time.
Try not to write in full sentences. Use bullet points, abbreviations, and short phrases. Otherwise, it’ll be too hard to keep up with the speaker.
If you’re in a meeting, capture decisions, numbers, and action items. If you’re in class, focus on concepts, definitions, and examples.
Step 3: Write Cues and Questions

After the session ends, go back and fill in the cue column.
Read your notes and write questions, keywords, or prompts related to them. Whatever you write on the left should help you remember what you wrote on the right.
For example:
-
“Why did churn increase?”
-
“Define cellular respiration.”
-
“What are the 3 marketing priorities?”
These cues compress information into triggers for your brain. They’re not categories (that’s a common mistake). These are questions and prompts that force you to retrieve information instead of just recognizing it.
If your cue column just says “Marketing” or “Revenue,” your brain doesn’t have to work very hard. But if it says, “Why did churn increase in Q1?” you’ve turned your notes into a built-in quiz.
Step 4: Write a Concise Summary

Finally, write a short summary at the bottom of the page in your own words. Try not to write more than four sentences. The reason we advise you to do this is because you want to boil it down so you can skim it later.
This serves two purposes.
First, it forces you to think about the information again and write it in your own words. This boosts recall massively because now, your notes are not just scribbles of someone else’s words. They’re your interpretation of the facts.
Secondly, the summary section makes it way easier to find your notes later. Instead of sorting through pages of identical bullets, you can skim your summaries to quickly find the notes you’re looking for.
Pro Tip: Sorting through notes is even easier with Plaud. Plaud AI is an AI note-taking device that turns all of your notes into a searchable database, so you can pull up notes based on keyword, date, topic, etc. If you aren't sure which AI note-taker you need, check out our review on note-taking software and devices.
Tips for Taking Notes More Effectively
The Cornell Method gives you structure for business or university notes. But structure alone won’t save you if your notes are messy or overloaded.
Here are a few practical tips that can help you get the most from the Cornell note-taking method:
-
Don’t write full sentences during the session: If you try to capture everything word-for-word, you’ll miss the bigger picture. Use shorthand, symbols, and bullet points so you can keep up without falling behind.
-
Leave space between ideas: Crowded notes are hard to review. A little white space gives you room to add clarifications later and makes scanning easier during exam prep or meeting follow-ups.
-
Fill in the cue column within 24 hours: If you wait a week, you’ll forget context. Reduce your notes the same day, when your brain is still warm. That’s when the connections are strongest.
-
Turn cues into questions whenever possible: Specific questions force you to retrieve details, numbers, and cause-and-effect relationships instead of just recognizing a topic. The word “revenue” is not a memory trigger. Asking the question, “What caused the 15% revenue shortfall in Q1?” is much better.
-
Rewrite the summary in plain English: Don’t copy phrases from your notes. Explain the page like you’re telling a friend what happened in the lecture or meeting. If you can’t explain it simply, you probably don’t understand it yet.

Alternatives to the Cornell Note Method
The Cornell Method is amazing for learning and remembering facts. But it’s not the best for every situation. In our series of articles on note-taking methods, we’ve discovered that different topics and learning styles call for very different note-taking strategies.
Some people prefer more visual systems, like the flow method. Others want something faster and less structured, like the outline method.
So, if you’re looking for some other ways to take notes in college or at work, one of these methods might be better for you.
We explore these Cornell method alternatives and others below.
Outline Method

This is the classic hierarchical note-taking system you’ve probably used countless times.
You put the main topics on the left, and sub-points indented underneath.
It works well for structured lectures, textbooks, and logical topics. But it doesn’t naturally build in self-testing the way Cornell does.
Charting Method

The charting method is great for comparisons. It evaluates several different topics according to the same criteria. If you’ve ever seen a comparison table, that’s a good example of charting.
We recommend this method for historical events, product features, legal cases, or anything with categories and key differences. A chart can make patterns jump out instantly.
However, it’s much less flexible than the Cornell method.
Mapping Method

This visual, web-style layout is also called the flow method. It connects ideas from a central topic using lines and boxes.
It’s excellent for brainstorming or big-picture thinking. But it can get messy fast if the lecture is linear or has a lot of detail. The last thing you want is tons of text surrounding your boxes.
Use this method for big-picture thinking and stick to the Cornell notes system for organizing the details.
AVID note-taking
The AVID method (also called focused note-taking) uses a Cornell-style structure but adds more formal reflection and revision steps afterward. So, it basically tells you how to take Cornell notes and use them.
This method is good for people who are learning to take effective notes. That’s why it’s popular in middle and high schools. For adults, it can feel a bit rigid, but it’s still a great format to follow.
Cornell Note Template From Plaud
You don’t have to draw lines on paper every time you want to use the Cornell method. With Plaud, you can generate Cornell notes from in-person lectures, online meetings, and phone calls automatically.
All you have to do is:
-
Choose a Cornell template from Plaud’s template library. Or, you can snap a photo of the Cornell note template below using Plaud’s instant photo-to-template feature.
-
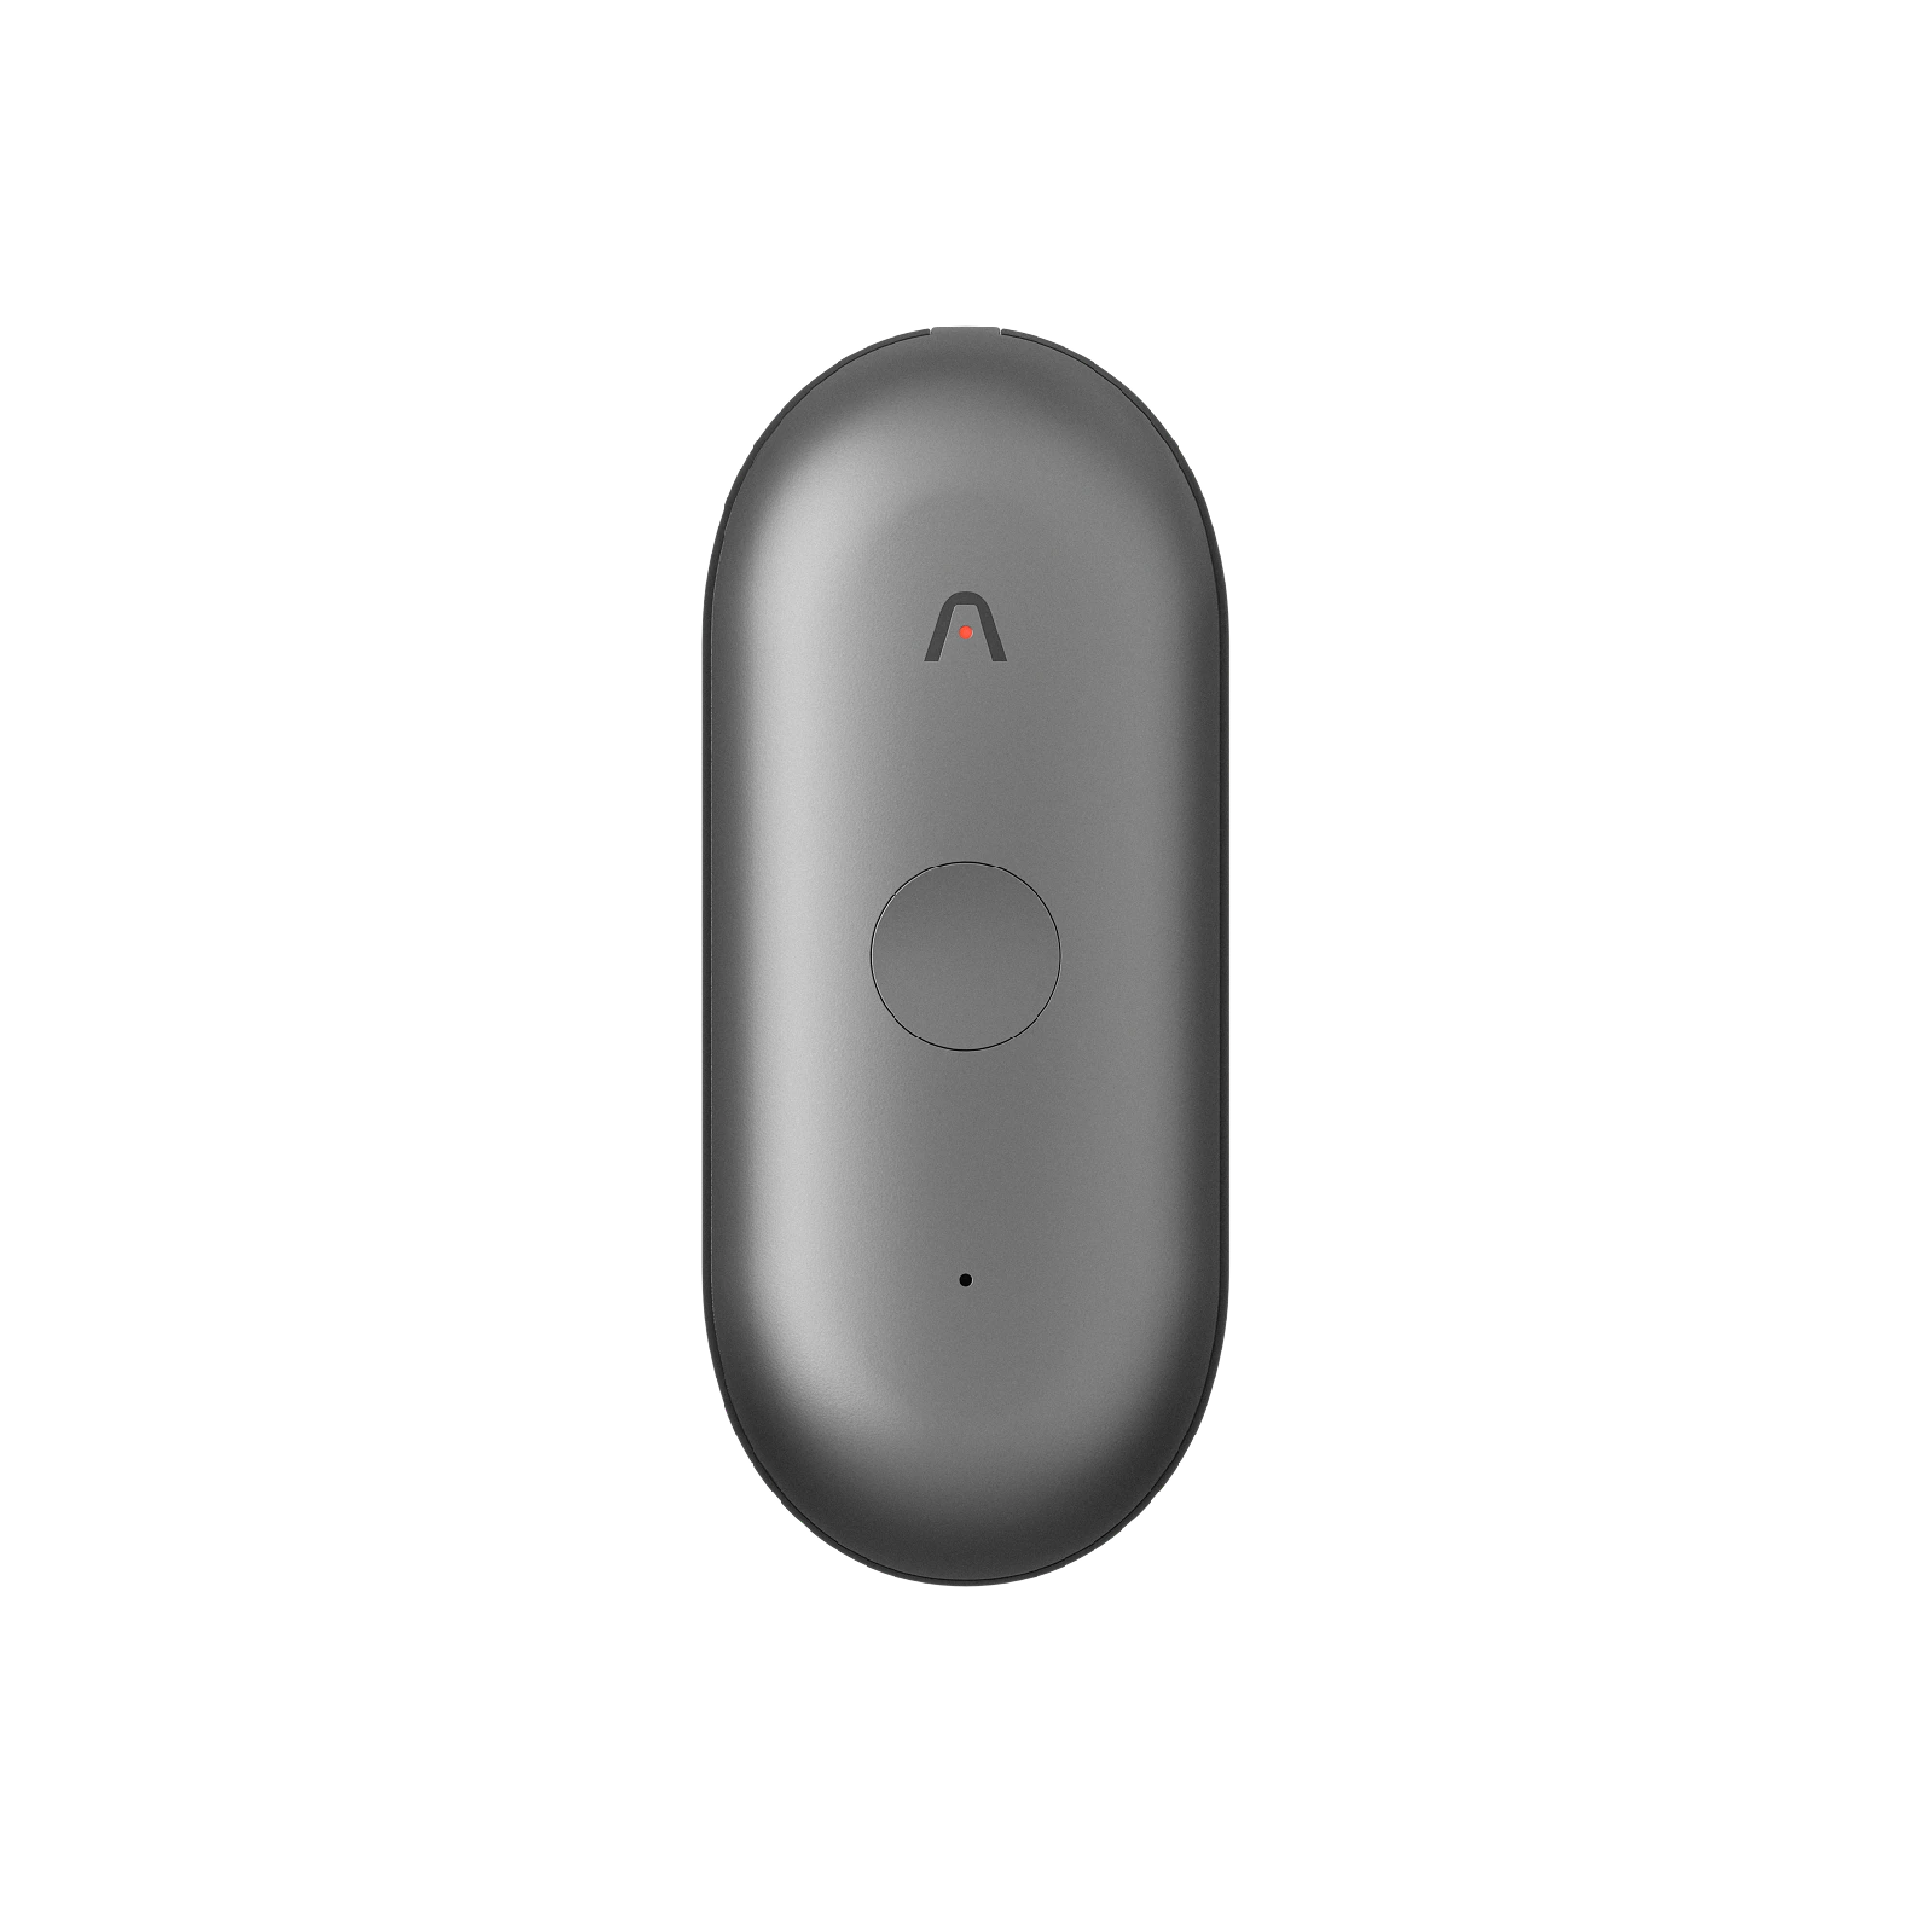
Record your lecture or meeting with Plaud Note or Plaud NotePin.
-
Sync to the Plaud app to automatically generate a transcript and Cornell notes from your audio recording.
You’ll never have to pick up a pencil or furiously type notes again, freeing you up to actively engage in meetings or lessons.
Further Reading: If you're frequently in meetings, we suggest getting an AI note-taker to help you record, transcribe, and summarize meetings. It could save you tons of time and drastically improve the accuracy of your notes.
To get started, take a photo of this Cornell template and upload it to the Plaud app:

F.A.Q.
Do you have more questions about the Cornell note-taking system? Find the answers below.
Q: Who invented the Cornell Method of Note-Taking?
The Cornell Method was developed in the 1950s at Cornell University by education professor Walter Pauk. It’s one of the most effective study methods in existence. He created it to help students move from passive note-taking to active learning. The method has lasted for decades because it’s simple, but it forces better study habits.
Q: How to use the Cornell Method?
To use the Cornell note-taking method for college notes, start by dividing your paper (or digital document) into three separate sections:
-
A main notes column (right side)
-
A cue column (left side)
-
A summary box (bottom)
During the lecture or meeting, record key ideas in the main column. Afterward, write questions and prompts in the cue column. Then, summarize the page in your own words.
When it’s time to review, cover the notes and answer the cue questions from memory.
Q: How can I teach the Cornell Method to someone else?
To teach the Cornell method, start by modeling it. Demonstrate how to:
-
Set up the page
-
Take concise notes in bullet points
-
Write retrieval-based questions in the cue column
-
Summarize in plain English
Next, help them understand that the Cornell method is all about the five R’s: record, reduce, recite, reflect, and review. It requires effort before, during, and after the session. That’s what makes it so effective for learning. If someone wants to learn this aesthetic system, we don’t blame them.
Q: What are the benefits of Cornell notes?
The benefit of the Cornell note-taking method is that it forces you to review your notes later and maximizes retention.