Imagine getting off a Zoom call with a potential prospect and wanting to repurpose the call to send them a follow-up email with what you discussed. You didn’t record it or jot down what you guys were talking about because you were so confident in your memory.
Once you started drafting the email, you paused and couldn’t recall all the pain points you guys talked about. You then realized that your memory isn’t always the safe option. “EPIC FAIL!”
Whether you are a client, a host, or even a participant, it is necessary to learn how to record a Zoom meeting, and of course, in high quality.
In this guide, we will show you a step-by-step walkthrough on how to record a Zoom meeting on PC or any other device using the Plaud AI voice recorder.
Let’s begin.

Can you record a Zoom event?
Yes, of course! You can capture Zoom events if you're the meeting host or have been given permission to record; all you have to do is press the Record button in your control bar. While paying customers/participants get to utilize cloud storage, free accounts save your Zoom meeting recordings on your device itself.
The problem is that most modern devices come equipped with built-in screen recording that enables you to record Zoom sessions even if you are not the host or do not have any kind of authority. I will walk you through how to do it on any platform.
Key point: Because laws differ depending on jurisdiction, always obtain the correct consent prior to recording meetings. please check our guide on recording laws by state to learn more.
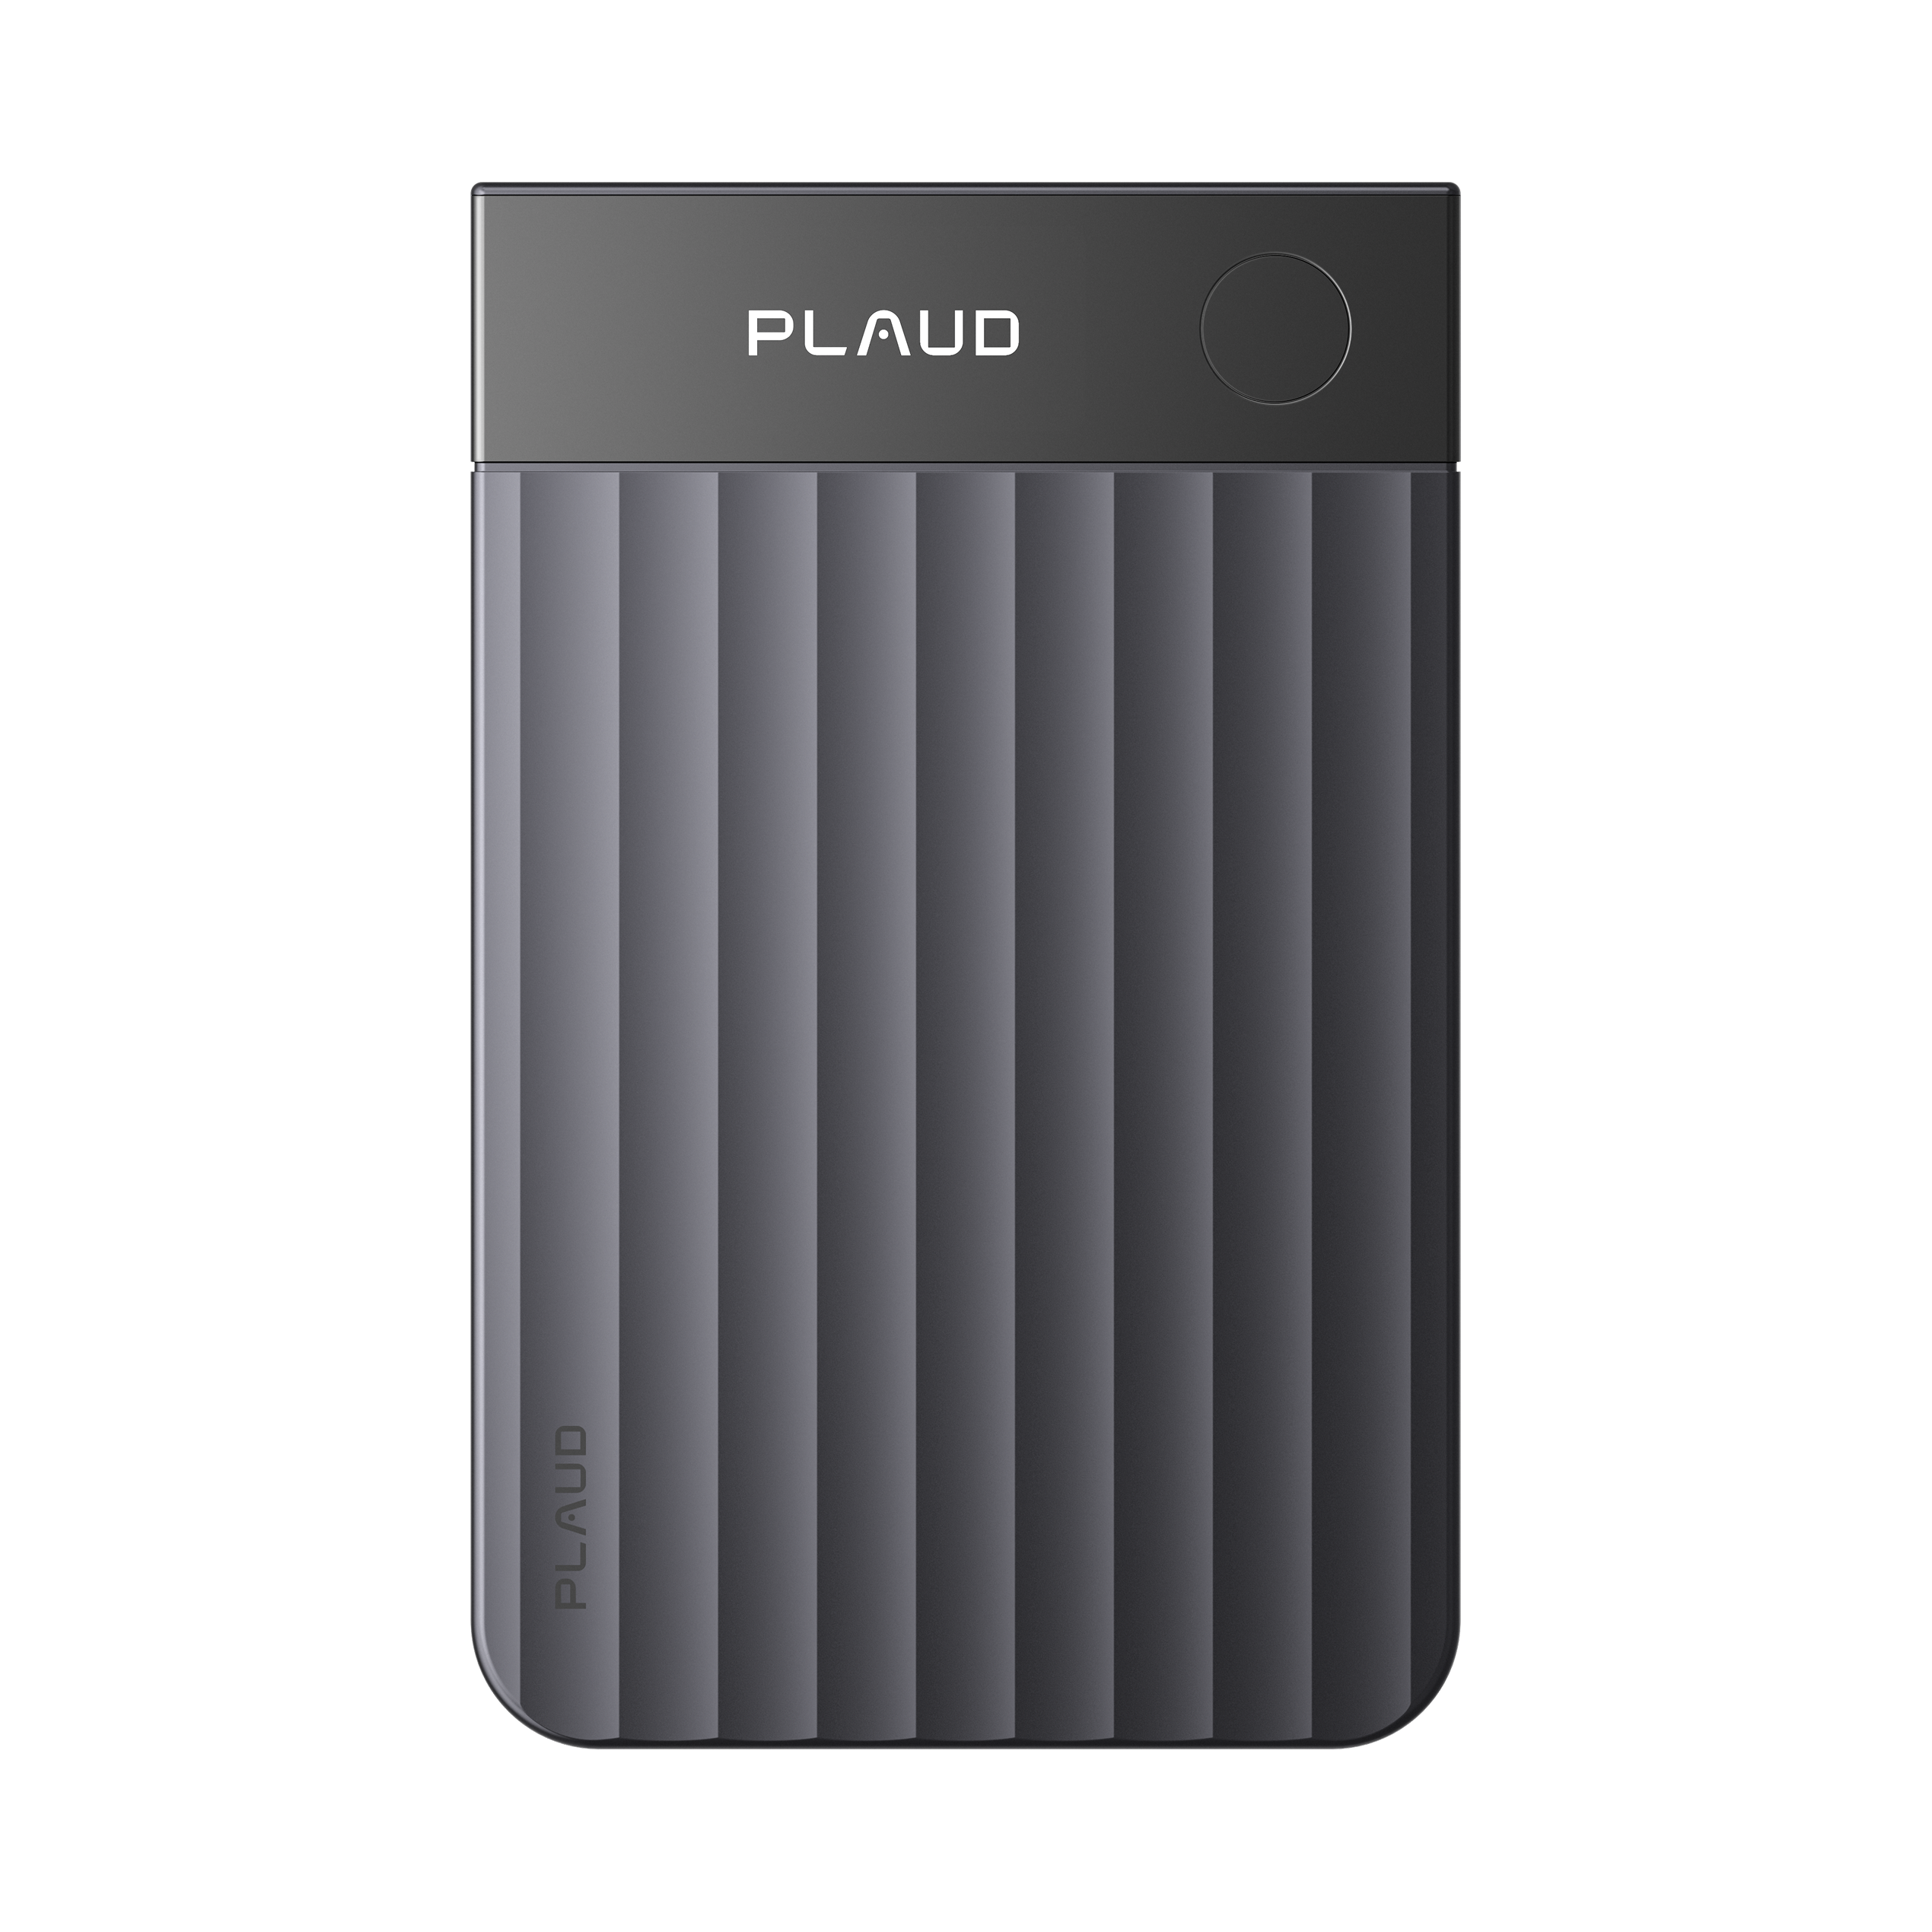
How to record a Zoom meeting on any device (using the Plaud device)
The Plaud Note offers an excellent alternative for recording meetings regardless of Zoom's built-in restrictions. This external recorder captures high-quality audio independently of your computer or phone.
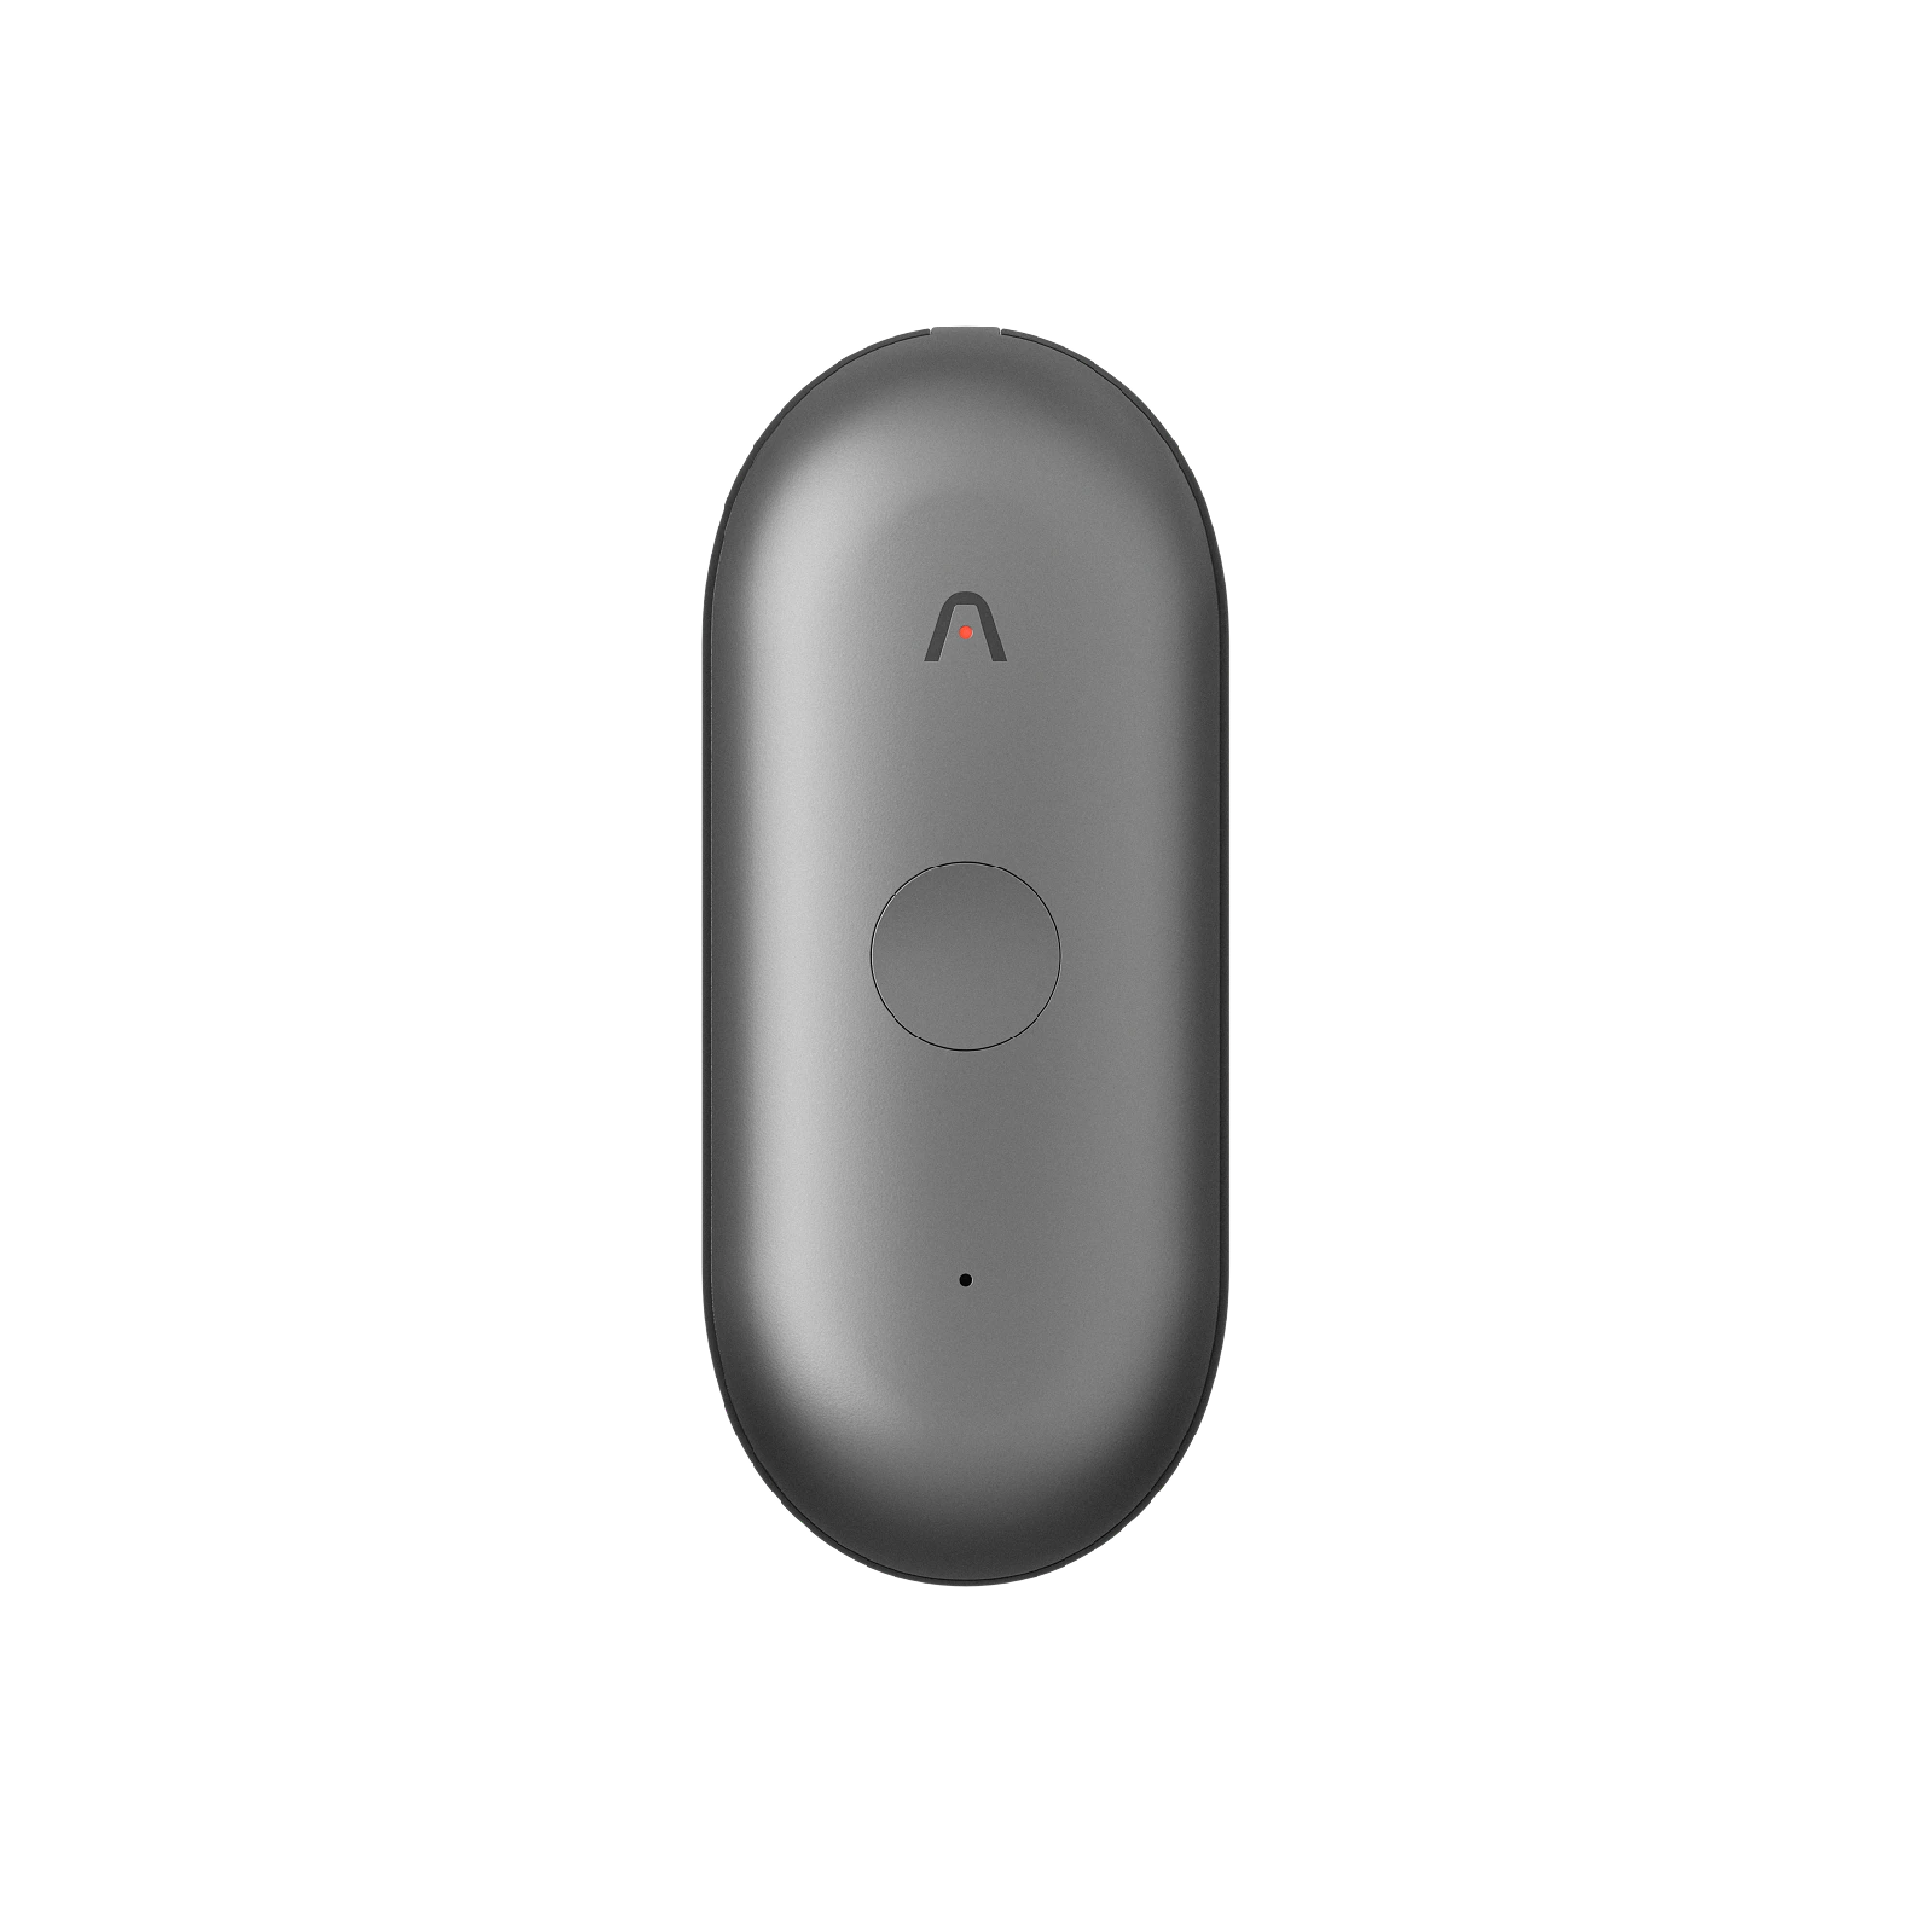
Step 1: Prepare your Plaud Note
Ensure your Plaud Note is fully charged and connected to the Plaud App on your smartphone. It only takes like five minutes, so the initial setup should be finished before your meeting starts.

Step 2. Position Plaud for optimal audio capture
Position your Plaud Note near your computer speakers (for online meetings) or at the center of the meeting room (for in-person meetings with others) to capture the optimal audio pickup of all meeting participants in the Zoom meeting.

Step 3. Start or join your Zoom meeting
Your Zoom meeting on your chosen device (Windows, Mac, iPhone, Android, etc.) is ready to launch or attend.
Step 4. Activate Plaud recording
As you start your Zoom meeting, press the record button on your Plaud Note to begin recording audio of the meeting. Plaud will record the audio automatically and you'll get a high-quality transcription after.

Step 5. Conclude your Zoom meeting and stop Plaud recording
When your Zoom session ends, the recording stops on your Plaud Note. The audio will be automatically saved on your device after you finish recording.
Step 6. Review and edit your Zoom transcripts, summary, and action items
Download your meeting files by signing in to the Plaud App. Your audio files will be saved automatically once you establish a connection. Next, click "Generate" to generate the transcription and pull the meeting summary and action items.

If you prefer large-screen use or wish to process the data more deeply, you may log in to the Plaud Web with the same account you use in the Plaud App.
Make sure the Private Cloud Sync is enabled in the Plaud APP first. Once turned on, files will be synchronized to Plaud Web for display on any device.
Further Reading: Read more about the amazing benefits of AI powered meeting summaries in the workplace in this guide.
How to record a Zoom meeting as a host from the desktop app
You have the greatest control and get the best quality results when you record as a meeting host. Here's how to do it from the Zoom app:
Step 1: Configure your recording settings
Before starting your conference, go to the Zoom graphical user interface (GUI) by clicking on the Settings gear icon just below your profile avatar in the top right corner of the desktop version of the app.
Next, decide where you'd like to save your recordings, and jump into the Recording tab. The first part is very important because choosing the right place and folder will save you from losing local files later.

Step 2: Start your meeting and begin recording
As always, if you have not done so, establish your Zoom recording conference. When you are ready to begin recording (but not when chit-chatting), click the Record button in the control bar at the bottom of your screen.

A "Recording" icon will show up in the top-right corner to signify that recording is underway. Additionally, a notice that the meeting is being recorded will be sent to each participant.

Step 3: Manage your recording during the meeting
While recording, you can:
- Pause recording by clicking the pause icon next to the recording message
- Stop recording completely using the stop button
- Continue recording after pausing by clicking the record button again

One of the nice things about this is that it works great for longer (perhaps strategic) meetings where you want to eliminate meal breaks or digressions.
Step 4: Access your recorded files
After you're done with the meeting, Zoom will automatically stop recording and start processing your recording files. You'll see a pop up showing where the file was saved for local recordings (usually in Documents > Zoom folder).
We recommend renaming your recordings to something meaningful, for example, 'Q4 Strategy Meeting - Jan 15 2025',.
How to record a Zoom meeting as a participant
Recording as a participant requires permission from the host, but the process is straightforward once you have it:
Getting recording permission
If you don't see a Record button in your controls, it means that the host hasn't enabled participant recording. You can request permission by:
- Opening the participants' panel
- Clicking more at the bottom
- Selecting the request recording permission
This sends a non-disruptive notification to the host, who can grant you recording privileges when notified.
Recording process for participants
Once granted permission:
- Click the record button that now appears in your controls
- Choose your recording location (local or cloud, depending on available options)
- Start recording, and you'll see the same recording indicator as the hosts
- Stop recording when the meeting ends
Note: Know that as a participant, you might have limited recording options compared to hosts.
How to record a Zoom meeting as a participant without recording permission
Sometimes you need to record important meetings when the host has not enabled permissions. Here’s how to record local files using different devices:
Recording on Windows 10/11
- Use the Xbox Game Bar (included with Windows)
- Close extra windows so your Zoom meeting is the only one open (keeping multiple apps open may interfere with the recording experience)
- Press the Windows key + G to open the Xbox Game Bar
- Press Start Recording or Windows + Alt + R
- The game bar captures your screen in the background
- Stop recording when finished; you'll be notified where the file is stored
How to record a Zoom meeting on a Mac
Mac's built-in screen recorder is simple. However, it does not record internal audio by default, so you may need third party software to assist. Here's what to do:
1. Open your Zoom meeting
2. Press command + Shift + 5
3. Select to record a window, part of the screen, or the entire screen

4. Select the Zoom window for best results

5. Click on record to begin
6. Click on stop in the menu bar when finished

A thumbnail is displayed in the corner once complete. Click it to select where to save your recording.
How to record a Zoom meeting on Android
For Android 11 and newer devices:
1. Swipe down twice from the top to access quick settings

2. Tap the screen recorder button

3. Select your audio settings (choose "media sounds" to capture Zoom audio)
4. Tap to start recording after the countdown

5. Start your Zoom meeting normally
6. Tap stop in the recording toolbar when finished
Your recording saves automatically to the Gallery in a "Screen recordings" folder. In case you are interested, there are various ways of recording Android. Check out our guides on how to record phone calls on your Android and how to record a Google Meet call.
How to Record a Zoom Meeting on an iPhone
We get this question all the time: "Can you record a Zoom meeting on a phone?" The answer is yes, and it's actually quite simple.
Here's how to do it...
Enable screen recording first:
1. Go to settings > control center
2. Find screen recording and tap the + icon

3. Open Control Center and press and hold the record button

4. Tap the microphone icon to enable audio
5. Choose where to save the recording
6. Tap start recording

The recording begins after a 3-second countdown. You can stop by tapping the red icon and selecting "Stop Recording." This technique is comparable to any recording on an iPhone, whether you’re trying to record a phone call, a meeting, or a video.
Alternative recording solutions
Here are a few other recording solutions that we recommend:
Third-party screen recorders
Third-party software can provide more options for recording high-quality audio on your computer or mobile device. There are several excellent free screen recording apps:
- Riverside's free screen recorder: Simple interface, records screen and webcam simultaneously
- OBS Studio: More advanced features for power users
- Movavi screen recorder: User-friendly with editing capabilities
Browser-based recording
Most screen recording methods also work in the Windows browser. When prompted to select a recording area, simply choose your browser window where Zoom is running.
Recording quality and file management
Local vs. Cloud recording
Local recording:
- Immediate access to files
- No internet dependency during recording
- Uses computer storage space
- Higher quality potential
- Available on free accounts
Cloud recording:
- Automatic backup and processing
- Easy sharing with links
- Requires a paid Zoom account
- Processing can take up to 24 hours
- Storage limitations based on account type
File organization tips
- Create a consistent naming system: Use formats like "YYYY-MM-DD - Meeting Topic - Attendees."
- Organize by categories: Separate the folders for clients, teams, and training sessions.
- Set up automatic backup: Sync the local recordings to cloud storage to ease the work.
- Regular cleanup: Delete old recordings to manage storage space
Further Reading: If none of these methods work for you, maybe you're better off with MS Teams? Check out this guide to see if Microsoft Teams is better for you than Zoom.
Common Zoom recording issues and how to fix them
Record button missing
This means you don't have recording permissions. Either request permission to record Zoom meetings from the host or use alternative recording methods outlined above.
Recording failed to start
Usually caused by:
- Insufficient storage space
- Outdated Zoom recording software
- Account limitations (free vs. paid features)
Poor audio quality
Improve by:
- Using external microphones
- Positioning closer to audio sources
- Checking internet connection stability
- Adjusting recording quality settings
File not found after recording
Check default save locations:
- Windows: Documents > Zoom recording file
- Mac: Documents > Zoom recording file
- Mobile: Check your device's designated recordings folder
Legal considerations
Recording permissions
Always inform participants when recording meetings. Many jurisdictions require explicit consent, and it's simply a good practice for maintaining trust and professional relationships.
Data privacy
Be mindful of sensitive information in recordings:
- Don't share recordings with unauthorized individuals
- Store files securely with appropriate access controls
- Consider automatic deletion policies for routine meetings
- Encrypt sensitive recordings when possible
Conclusion
Congrats, you now know how to record Zoom meetings on a PC, phone, and Mac.
An effective Zoom recording conference requires being aware of your alternatives and selecting the best approach for each situation. There is always a means to record important meeting information, regardless of whether you are the host with complete access, a participant asking for access, or someone in need of alternate recording options.
The main thing is preparation. Test your chosen recording method before critical meetings, ensure proper storage and organization systems, and always maintain transparency with other participants about recording activities.
Start practicing these techniques with meetings with no pressure to build confidence in the technical aspects. Once you've understood and mastered the basics, you can capture every important detail while remaining fully engaged in your important business discussions.
Record a Zoom meeting: Frequently asked questions
Why can't I record a Zoom meeting?
Account limits are the most frequent explanation. Check your account type if cloud recording isn't working because free Zoom accounts only permit local recording. In this case, you may need a paid plan. In other situations, the host might have turned off participant recording, which is typical in business settings for security concerns. The Zoom administrator at your company may have completely disabled the feature if you are the host and are still unable to record. Storage capacity can also be a problem because cloud recordings count against the storage limit of your account, while local files require sufficient free disk space on your machine.
Can I record a Zoom meeting as a guest?
You can, but based on the settings of the host. You can tell if the host has enabled the recording of participants because you will now see a record button within your controls. If you don't, you can always ask for permission. If you have a good cause, like sharing with a team, most hosts will grant it. You can use third-party software or devices, such as Plaud, if permission is not granted. However, you must always be open and truthful about acknowledging that it is being recorded and abide by local regulations.
How do I enable recording for a Zoom meeting?
There are multiple ways for a host to allow recording. Log into your Zoom web account and select Settings (the three dot more menu) to change the meeting controls. Then, select Recording, and confirm that local and/or cloud recording is enabled for your account. The same options section is where you can also turn on participant recording.
To enable recording for a particular person during a live meeting, click "Participants," locate their name, click "More" next to their name, and choose "Allow Record." This allows them to record just that particular meeting. If there is no solution, then you will need to contact Zoom support and relay your problem to them.
What if my Zoom recording is incomplete or missing parts?
Verify all of your saved recordings because Zoom occasionally divides lengthy meetings into several files. Files for cloud recordings might still be in the processing stage and might not show up for up to 24 hours. Completely absent sections are typically the result of poor system performance or erratic internet throughout the meeting. To prevent this in the future, make sure your connection is strong, shut off any apps that aren't needed, and think about recording key meetings with an external recorder like Plaud or a backup device like a smartphone.