
Getting off a call and realizing you didn't record it is a familiar problem. A prospect mentions three specific concerns, a manager assigns a deadline, and an hour later none of it survives in memory cleanly enough to write a follow-up email.
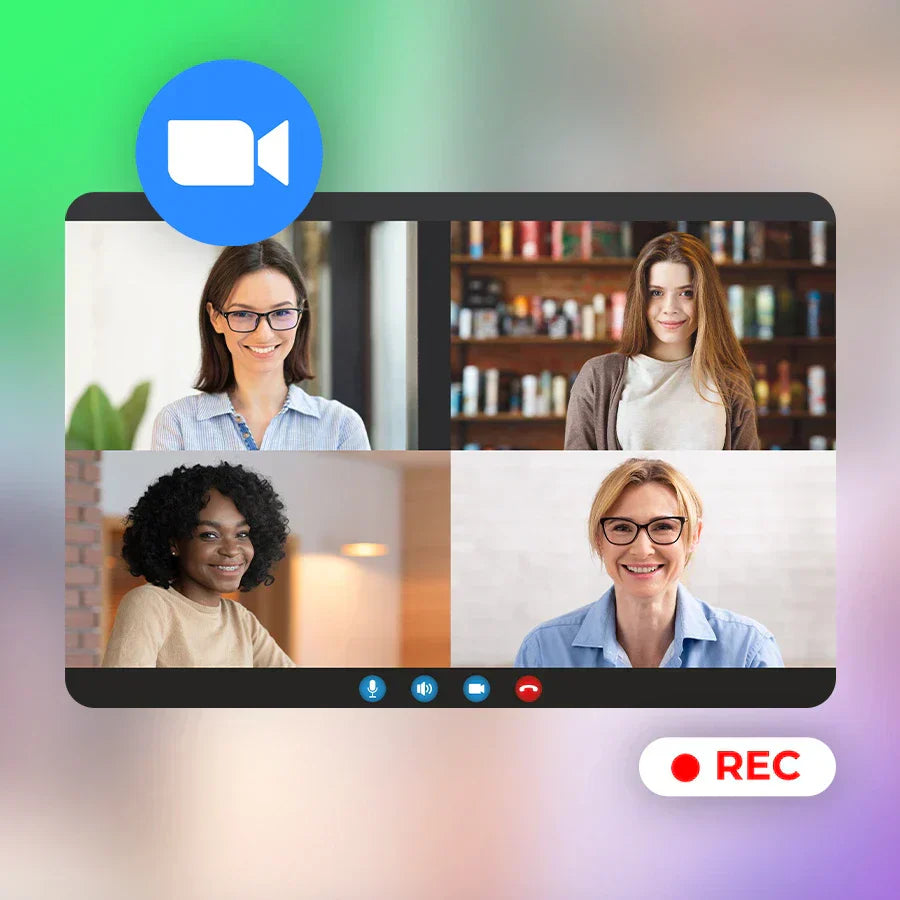
This guide covers every way to record a Zoom meeting, on any device, whether you're the host or a participant.
Quick answer: if you're the host or co-host, click Record in the meeting toolbar. Free accounts save the file locally on your computer, paid accounts can also save to Zoom's cloud. If you're a participant, you'll see the Record button only after the host grants permission, which you can request from the Participants panel. Every device below (iPhone, Android, Mac, Windows) has its own screen recording option if you need a method that doesn't depend on Zoom's built-in recorder at all.
Can you record a Zoom meeting
Yes, as long as you're the host, a co-host, or a participant the host has approved. Press Record in the control bar and Zoom takes it from there. Free accounts save recordings locally on the device. Paid accounts can also save to Zoom's cloud, where the file is available from any browser once processing finishes.

If you're not the host and recording hasn't been enabled for you, your device's own screen recorder is the fallback, and every major platform has one built in. Consent rules vary by state and country, so check our guide to call recording laws by state before recording a meeting that includes people in a different jurisdiction than you.
Recording as the host or co-host
Hosts get the most control and the cleanest recordings. Here's the setup from the desktop app.
- Open Zoom's settings (the gear icon under your profile picture) before the meeting starts and go to the Recording tab.

- Choose where local recordings should save. Picking a memorable folder now saves a search later.
- Once the meeting is running, click Record in the toolbar. If cloud recording is on your plan, choose Record to the Cloud. Otherwise, Record on this Computer saves locally.

- A recording indicator appears in the corner, and every participant gets a notification that the meeting is being recorded.

- Pause and resume as needed from the same control. Click Stop when you're done.

- Local files land in Documents > Zoom once Zoom finishes converting them. Cloud files show up in your Zoom web account, usually within a few hours, sometimes up to 24 for longer meetings.
Local recording works on every plan. Cloud recording needs a paid plan but adds automatic backup, easy link sharing, and no dependency on your laptop's storage.
Recording as a participant
If you don't see a Record button, the host hasn't turned on participant recording yet.
- Open the Participants panel.
- Click More next to your own name.
- Select Request permission to record.
This sends the host a quiet notification, not an interruption. Once approved, a Record button appears in your own controls and works the same way as the host's, though your options for local versus cloud may be more limited depending on the account type.
If the host doesn't respond in time, or your organization has recording turned off entirely, screen recording your own device is the next option, and each platform's steps are below. For a fuller comparison of methods that don't rely on the host's approval at all, including a physical recorder that works independently of Zoom's settings, see our guide on recording Zoom meetings without a bot.
Recording a Zoom meeting on iPhone
- Go to Settings > Control Center and add Screen Recording if it isn't already there.

- Open Control Center and press and hold the record icon.
- Tap the microphone icon so the recording captures audio, not just video.

- Start recording, then join or start your Zoom meeting. Recording begins after a 3-second countdown.

- Stop by tapping the red status bar and selecting Stop Recording.
The file saves to Photos automatically. This is the same built-in recorder you'd use to capture a phone call or any other video on an iPhone.
Recording a Zoom meeting on Android
Steps below are for Android 11 and newer. Older versions vary by manufacturer.
- Swipe down twice from the top to open quick settings.

- Tap the screen recorder tile.

- Under audio settings, choose media sounds so the recording picks up Zoom's audio.
- Tap start and wait for the countdown, then join your meeting.

- Tap stop in the recording toolbar when the meeting ends.
The file saves to your Gallery under a Screen recordings folder. For call-specific recording on Android, see our guide on recording phone calls on Android.
Recording a Zoom meeting on a Mac
- Open your Zoom meeting.
- Press Command + Shift + 5 to open the screen recording toolbar.

- Choose to record the full screen or just the Zoom window. Selecting the window keeps other apps out of the recording.

- Click Record.
- Click Stop in the menu bar when finished. A thumbnail appears, and clicking it lets you choose where to save.

QuickTime's built-in recorder does not capture a Mac's internal system audio by default. It only picks up whatever your microphone hears, so a meeting recorded this way can end up with the other participants sounding faint or absent. Installing a free virtual audio driver such as BlackHole routes your system audio into the recording alongside the microphone, which fixes this for Zoom, Google Meet, or any other app.
Recording a Zoom meeting on Windows
- Close any apps you don't need open. Extra windows can interfere with capture quality.
- Press Windows key + G to open the Xbox Game Bar.
- Click Start Recording, or use Windows + Alt + R as a shortcut.
- Join your Zoom meeting. The Game Bar captures your screen in the background.
- Stop recording when you're done. Windows shows a notification with the file location.
When Zoom's own options don't fit
Zoom's recorder covers most cases, but it breaks down in a few common situations: the host hasn't enabled it, your account is on a free plan and cloud storage matters, or you're in back-to-back calls and don't want to manage local files after every one.
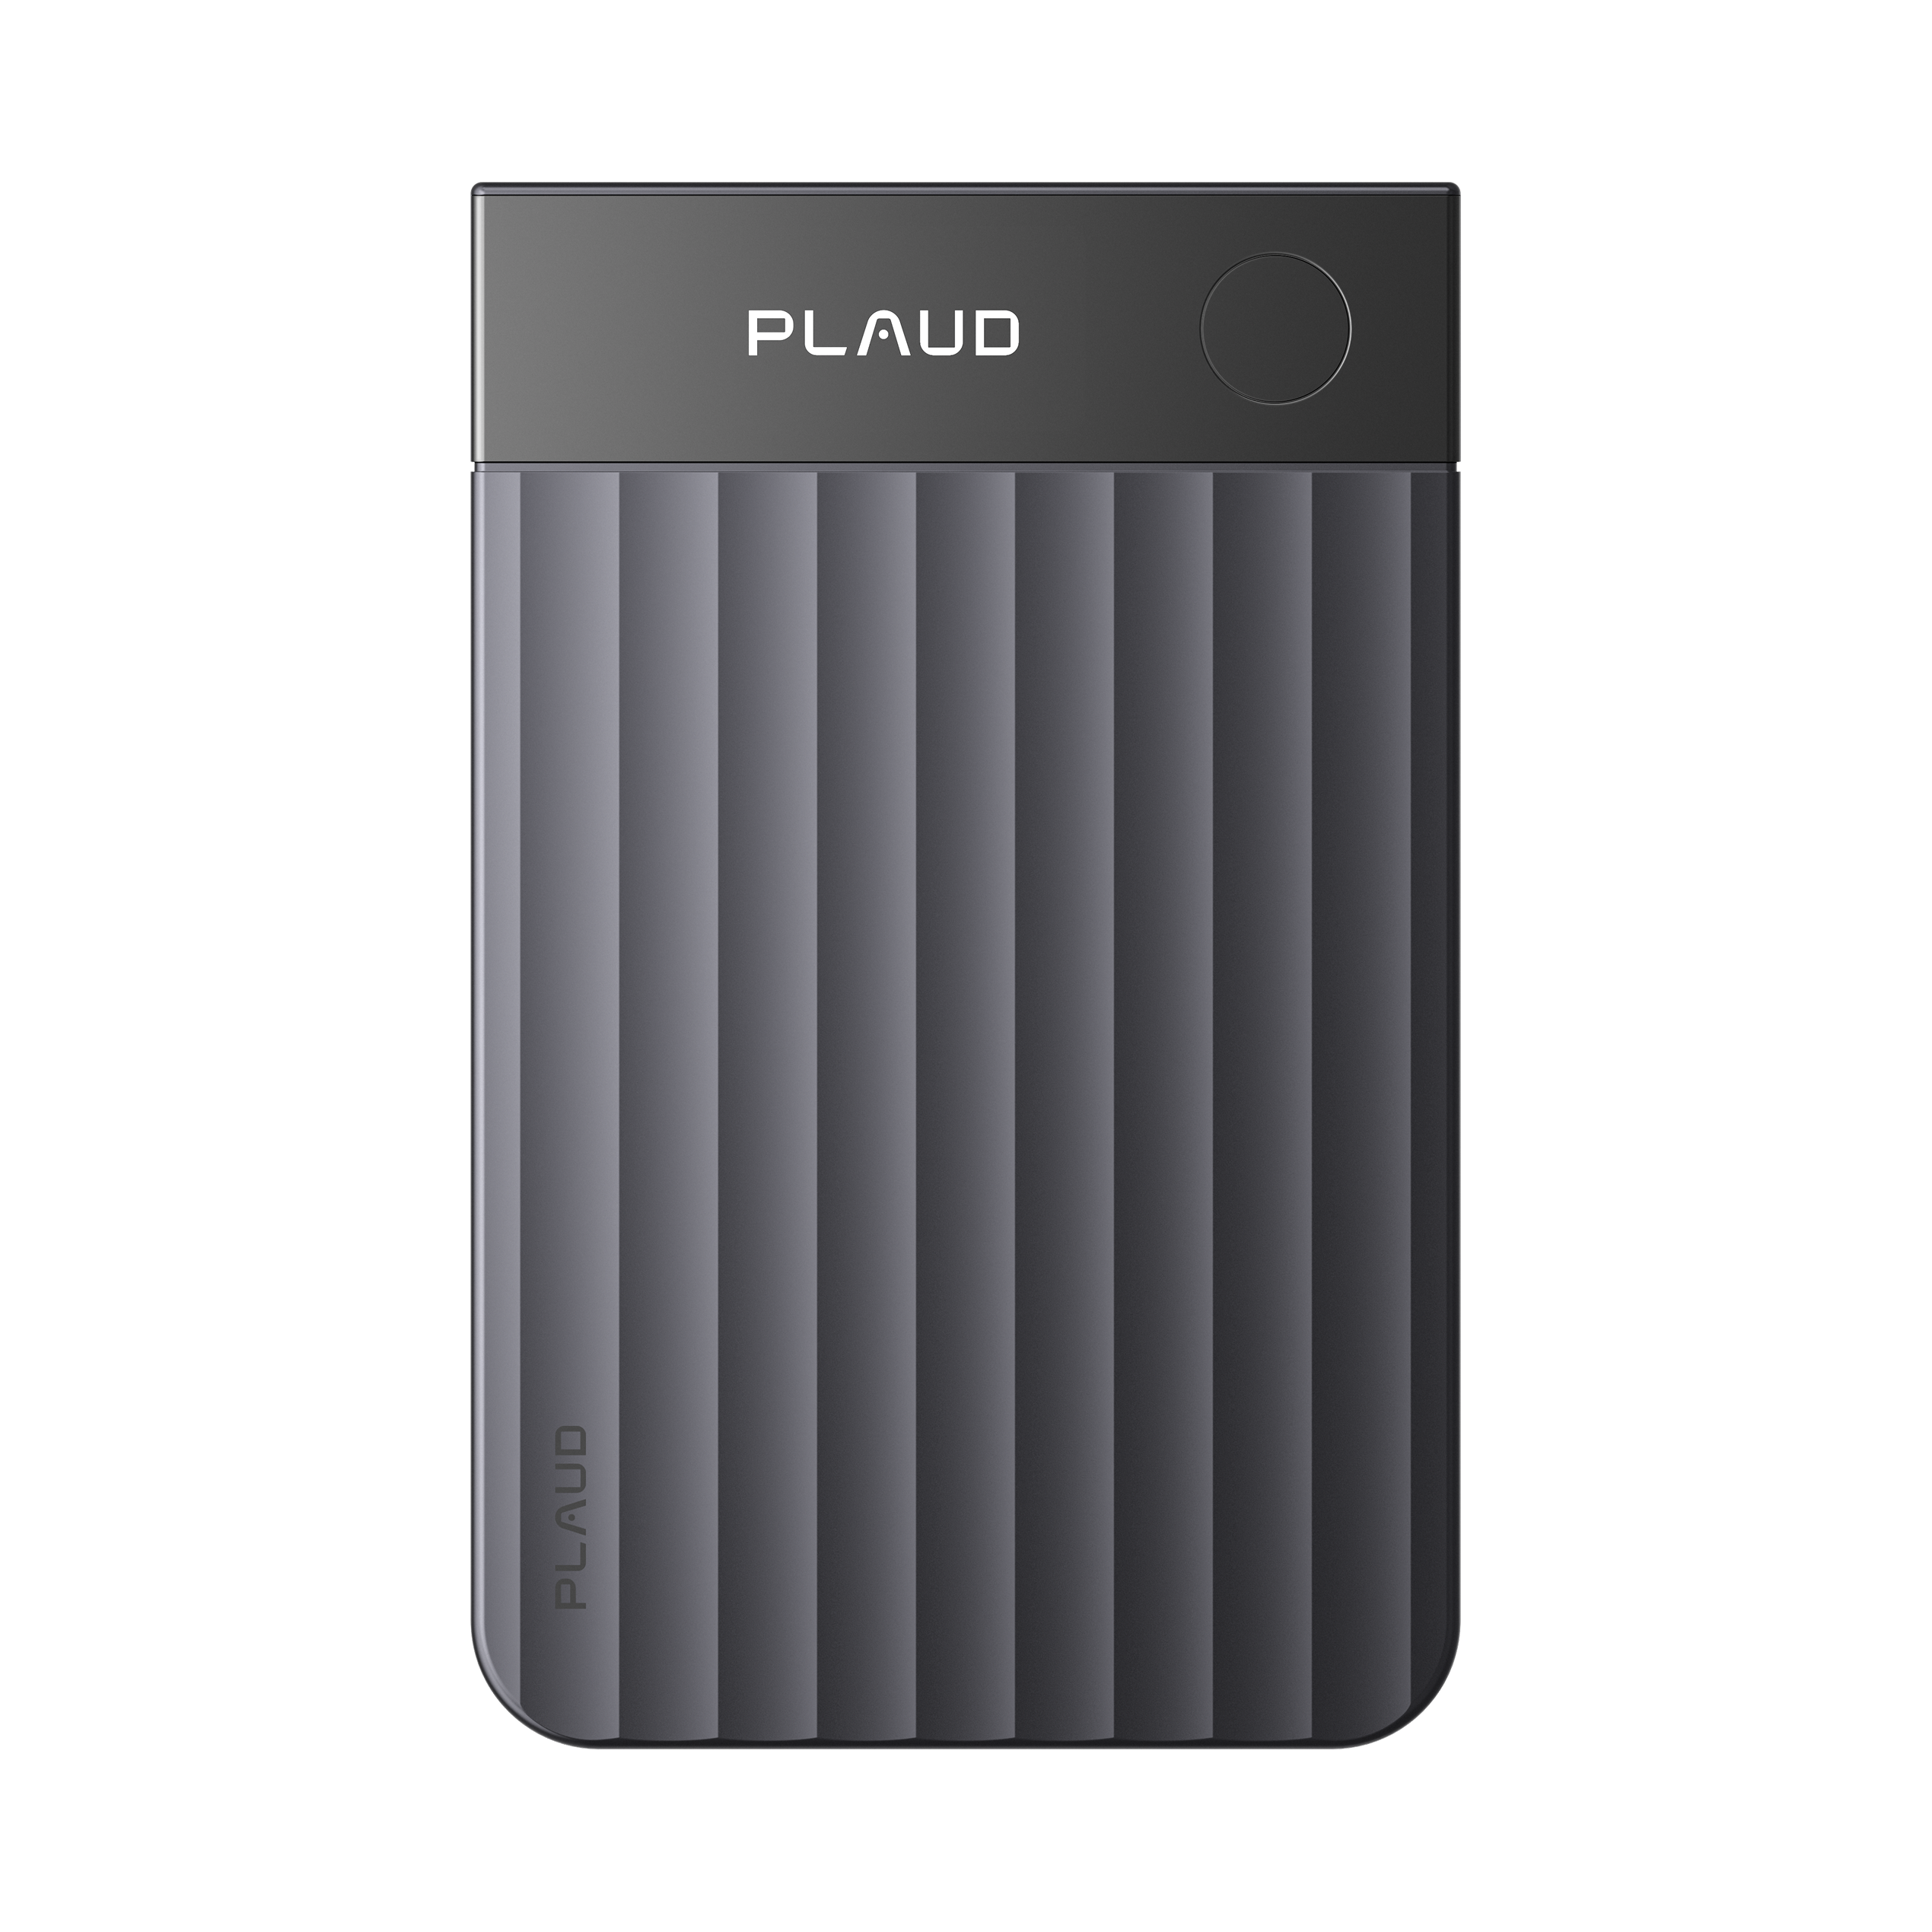
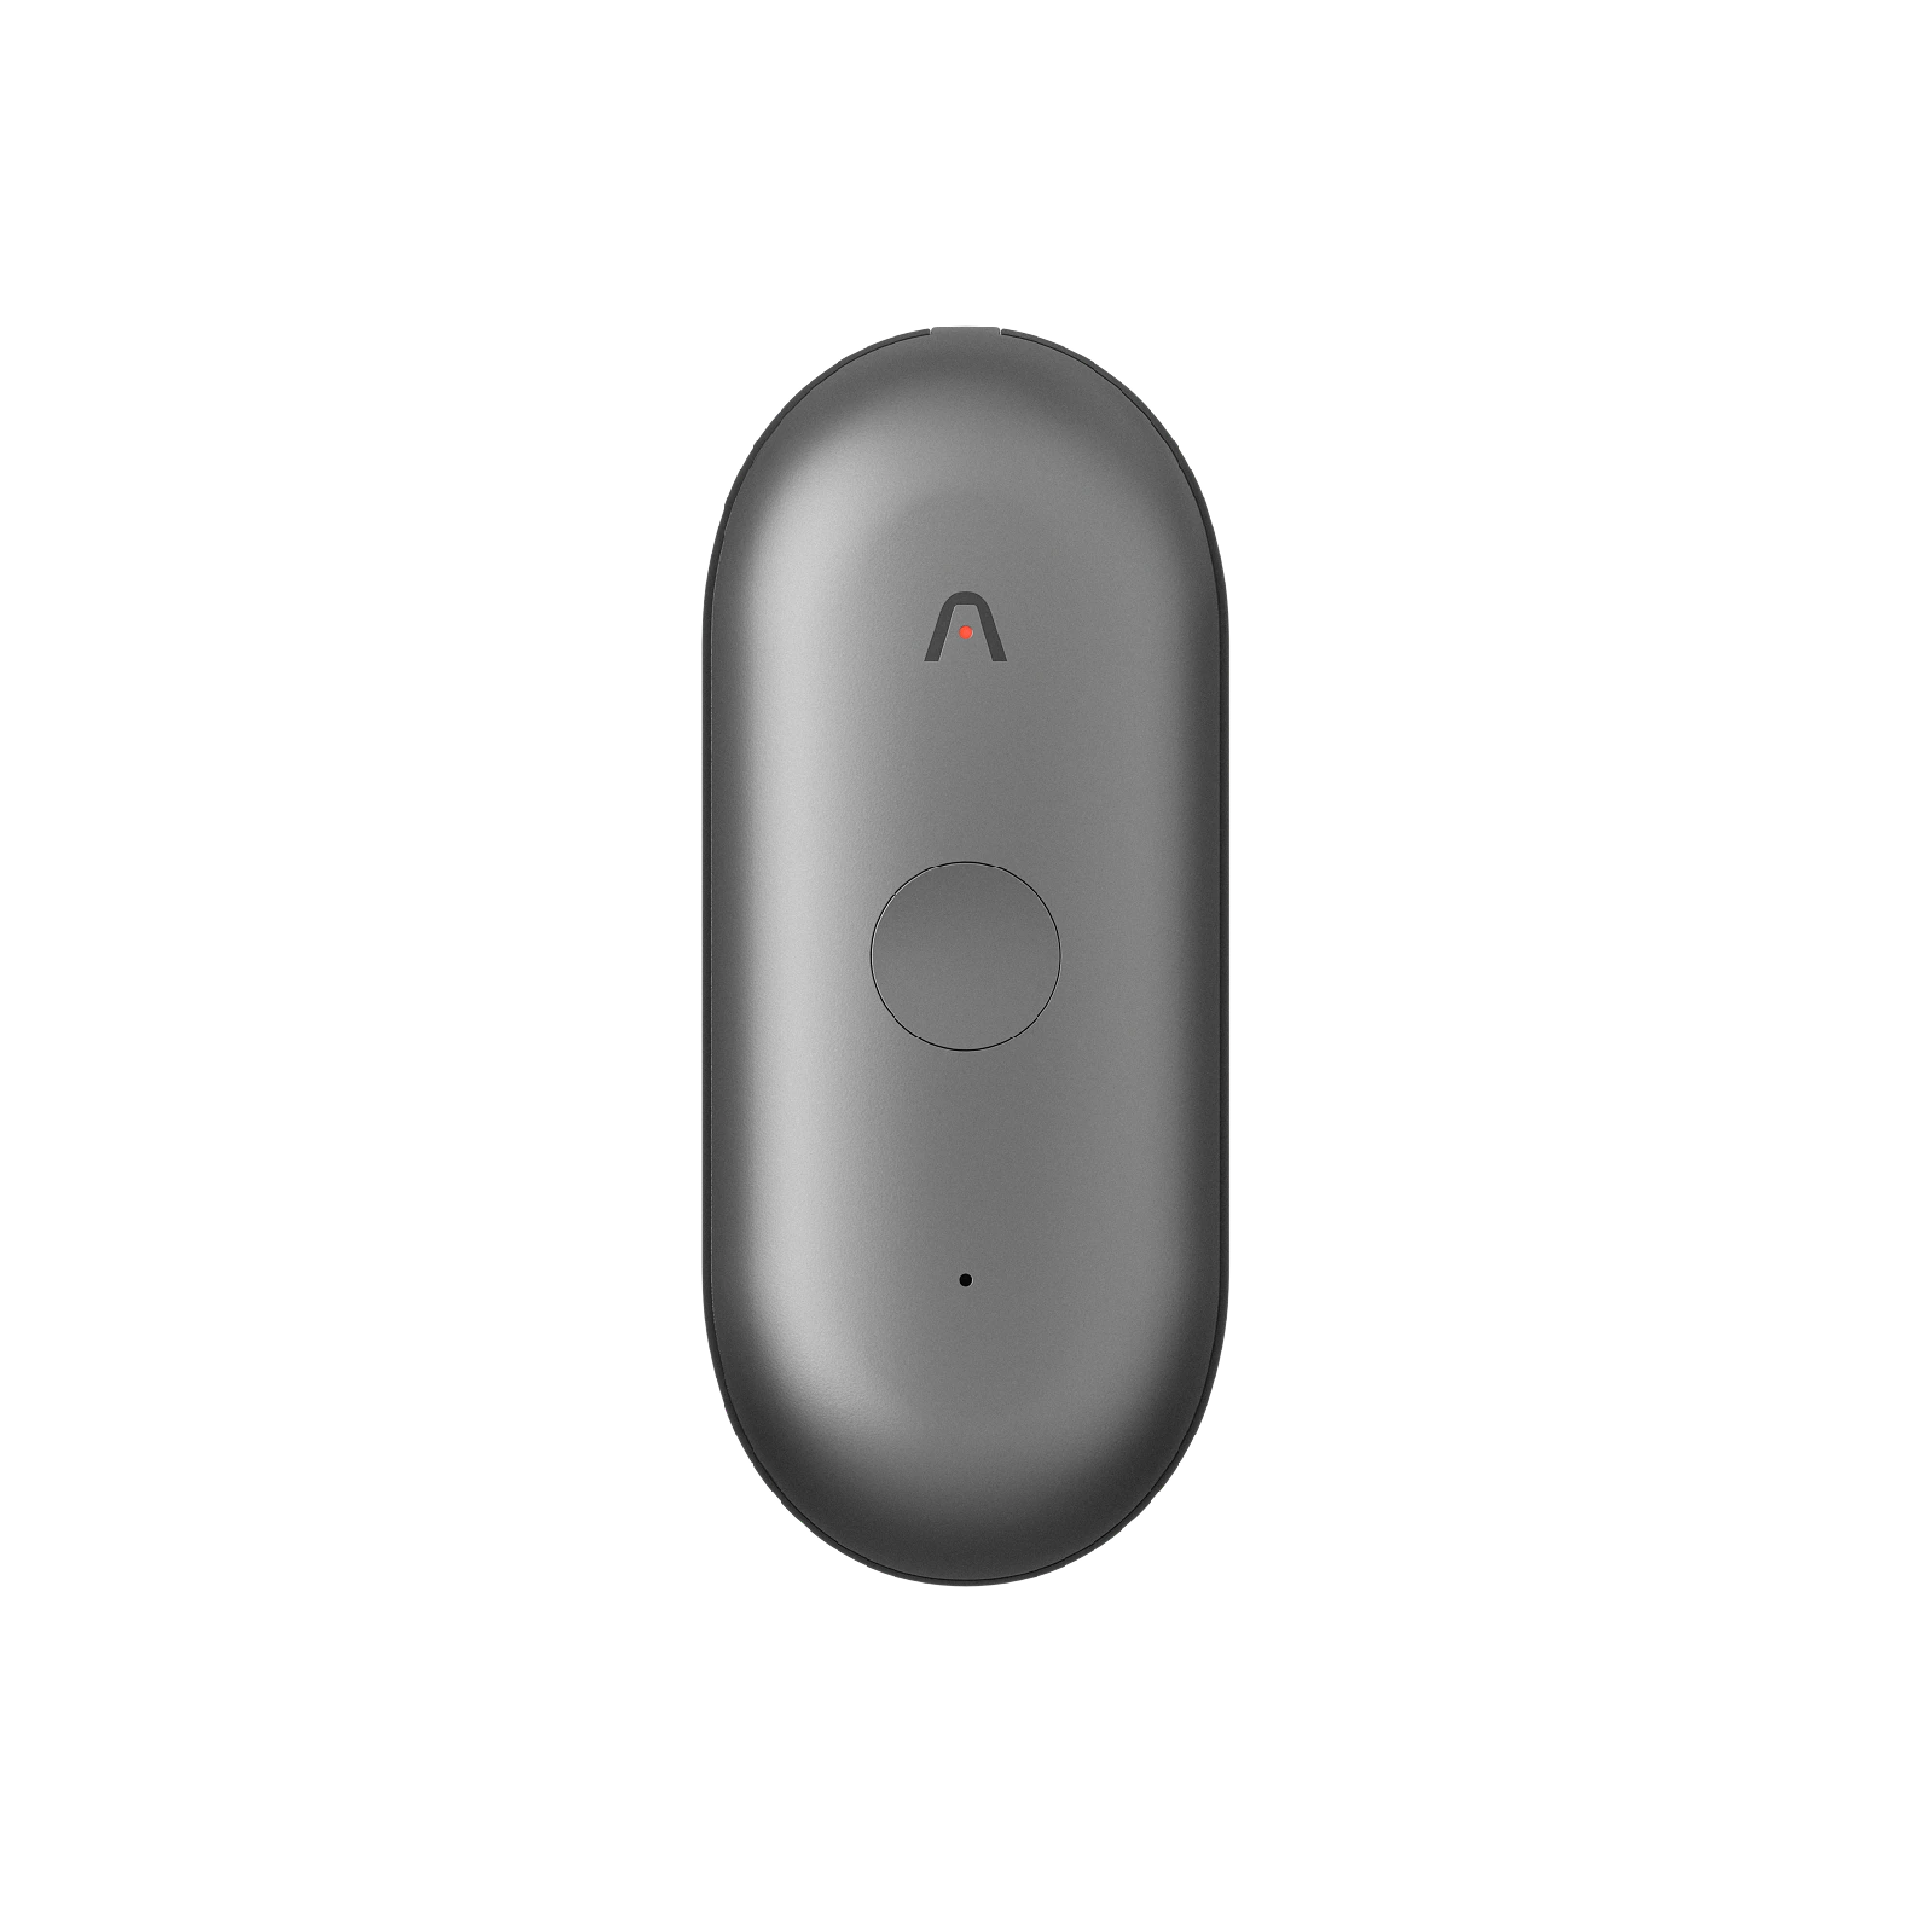
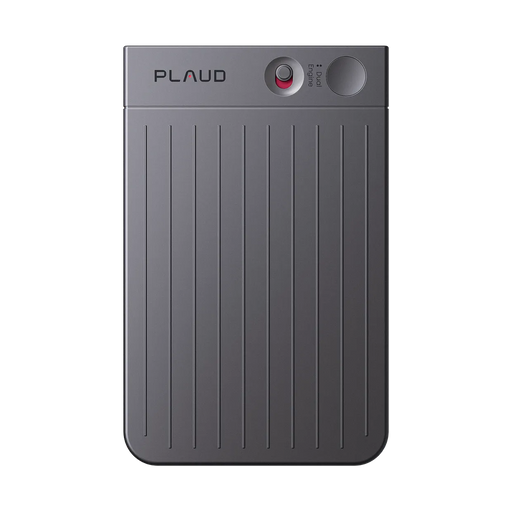
Plaud Note Pro is a physical AI note taker that sits beside your laptop and picks up meeting audio through 4 MEMS mics with AI beamforming, from up to 5 meters (16.4 feet) away. It records independently of Zoom's settings, so host permission and account tier don't apply.
- Charge Plaud Note Pro and pair it with the Plaud App on your phone. Setup takes about five minutes.

- Place it near your speakers before the meeting starts.

- Press the physical record button as your Zoom meeting begins.
- Press it again to stop once the meeting ends. The InstantView AMOLED display shows recording status at a glance.

- Open the Plaud App to generate a transcript, summary, and action items from the recording. Plaud Intelligence supports 112 languages.

- For a bigger screen or heavier editing, sign in to Plaud Web with the same account, once Private Cloud Sync is turned on in the app.
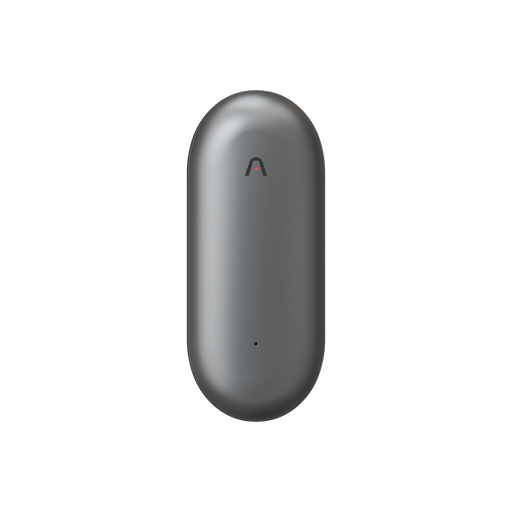
Plaud Note Pro also comes with Plaud Desktop, so the same account covers meetings away from your desk and meetings on your computer. Plaud Desktop detects when a Zoom, Google Meet, or Microsoft Teams call starts and captures audio natively from your computer, without joining as a visible bot participant. Set it to record automatically, prompt you at the start of each call, or start manually. Everything it captures flows into the same Plaud Intelligence workflow as your Plaud Note Pro recordings, so a hallway conversation and a Zoom call end up as transcripts in the same place.
Further Reading: more on AI-powered meeting summaries in the workplace.
Third-party recording software
If you'd rather not use Zoom's own recorder or a physical device, several free screen recorders work for Zoom calls. OBS Studio offers the most control for anyone comfortable with a slightly steeper learning curve. Browser-based recorders work if you just want to capture your Zoom tab without installing anything.
If your meetings are mostly online and you want AI transcripts and summaries as part of the recording itself, rather than a raw video file, our comparison of note-taking tools for Zoom covers the leading software options side by side.
Fixing common Zoom recording problems
Record button missing
You don't have recording permission yet. Request it from the Participants panel, or use one of the device methods above.
Recording failed to start
Usually low storage space, an outdated Zoom client, or a free-plan limitation on cloud recording. Update Zoom and check your device's free storage first.
No sound, or only your own voice, in the recording
This is the most common issue on Mac, where QuickTime doesn't capture system audio by default. Install a virtual audio driver like BlackHole and select it as your recording input. On Windows and mobile, confirm you selected "media sounds" or the equivalent system-audio option before you started recording.
File missing after the meeting
Zoom sometimes splits long meetings into multiple files, so check for more than one. Cloud recordings can take up to 24 hours to finish processing. Local files that seem to have vanished are usually still in Documents > Zoom, just under a different name than expected.
Organizing your recordings
A naming system saves time later. "2026-07-10 - Client name - Topic" is more searchable six months from now than the default "zoom_0.mp4."
- Keep separate folders for clients, internal meetings, and training sessions.
- Sync local recordings to cloud storage on a schedule, rather than manually after each call.
- Delete recordings you no longer need. Storage limits apply to both local drives and Zoom's cloud plans.
Recording laws and consent
Recording rules depend on where the participants are located, not just where you are. Some states and countries require every participant's consent, others only require yours. Check our state-by-state guide before recording a meeting with attendees outside your own state, and see Zoom's own recording documentation for how the platform's own consent notifications work.
If required by law, obtain consent from all participants before recording, and comply with applicable law.
Start with the method that matches your role
If you're hosting, Zoom's own Record button is the simplest path and needs nothing extra. If you're a participant and the host hasn't approved recording yet, ask for it first and fall back on your device's screen recorder if the meeting is starting now. And if you're in back-to-back calls and want the recording, transcript, and summary handled in one step regardless of what any single host has enabled, Plaud Note Pro is built for exactly that.
If required by law, obtain consent from all participants before recording, and comply with applicable law.